Irresistible Peanut Butter and Jelly Pop Tarts
Introduction
Who doesn’t love a classic peanut butter and jelly combination? Today, we’re taking this beloved duo to the next level by transforming it into a delicious homemade pastry – the Irresistible Peanut Butter and Jelly Pop Tarts. With just a few simple ingredients and some easy-to-follow instructions, you’ll be enjoying these mouthwatering treats in no time. The best part? They’re perfect for breakfast on-the-go, as an after-school snack, or even as a sweet indulgence any time of the day. So, let’s get baking and create some unforgettable memories with our family and friends!
Why This Works
- The perfect balance of flavors from the peanut butter and jelly creates a match made in heaven that everyone will adore.
- Using everyday ingredients like peanut butter, jelly, and puff pastry makes this recipe accessible and easy to prepare.
- Despite the impressive results, these pop tarts require minimal effort, making them a great option for busy days or special occasions.
Ingredients
- 1 package of puff pastry, thawed
- 1/2 cup creamy peanut butter
- 1/2 cup grape or strawberry jelly
- 1 tablespoon milk
- 1 egg, beaten (for egg wash)
- Confectioners’ sugar (for dusting)
- Sliced bananas or honey (optional, for added flavor and texture)
Instructions
- Step 1: Prepare the Pastry – Preheat your oven to 400°F (200°C). Line a baking sheet with parchment paper. Roll out the puff pastry on a lightly floured surface to about 1/4 inch thickness.
- Step 2: Cut Out the Pastry – Use a rectangle cookie cutter or a knife to cut out rectangles of pastry. You should be able to get about 8-10 rectangles, depending on the size you prefer for your pop tarts.
- Step 3: Assemble the Pop Tarts – Spoon a small amount of peanut butter onto one half of each pastry rectangle, leaving a 1/2 inch border around the edges. Top the peanut butter with a small spoonful of jelly. Brush the edges with the beaten egg for a golden glaze.
- Step 4: Seal and Bake – Place another pastry rectangle on top of the filling and press the edges to seal. Use a fork to crimp the edges for a decorative touch. Brush the tops with the remaining egg wash and cut a small slit in the top of each pop tart to allow steam to escape.! Bake for 20-25 minutes, or until golden brown.
Handy Tips
- Make sure to keep your puff pastry cold, as this will help it to hold its shape and bake up flaky.
- Don’t overfill your pop tarts, as the filling can ooze out during baking.
- Experiment with different types of jelly or nut butters for unique flavor combinations.
Heat Control
To achieve the perfect golden brown color on your pop tarts, ensure your oven is preheated to the correct temperature. Keep an eye on them during the baking time, as the pastry can quickly go from perfectly golden to burnt.
Crunch Factor
The puff pastry gives these pop tarts a delightful crunch on the outside, while the peanut butter and jelly filling remains soft and indulgent on the inside. To enhance the crunch, make sure your pastry is chilled and bake until it’s golden brown.
Pro Kitchen Tricks
- Use high-quality peanut butter and jelly for the best flavor.
- Chill your assembled pop tarts in the fridge for 10-15 minutes before baking to help them hold their shape.
- For an extra crispy top, brush with egg wash twice during baking – once before baking and once halfway through.
Storage Tips
- Store your baked pop tarts in an airtight container at room temperature for up to 2 days.
- For longer storage, freeze the baked pop tarts and thaw at room temperature when needed.
- Consider freezing the assembled, unbaked pop tarts for up to a month. Simply bake frozen, adding a few extra minutes to the baking time.
Gift Packaging Ideas
These pop tarts are perfect for gifting, especially to kids or as a sweet treat for coworkers. Package them in cute paper bags, wrap individually in plastic wrap or aluminum foil, and tie with a ribbon. You can also place them in a decorative tin or jar for a more rustic, homemade feel.
Flavor Variations
- Try using almond butter or cashew butter for a different nutty flavor.
- Experiment with various jelly flavors like apricot, orange marmalade, or even Nutella for a chocolate-hazelnut twist.
- Add some sliced bananas or a drizzle of honey on top of the pop tarts before baking for added texture and flavor.
Troubleshooting
- If your pastry doesn’t puff as expected, check that your oven temperature is correct and that you didn’t overwork the dough.
- If the filling oozes out during baking, it might be due to overfilling. Adjust the amount of filling in your next batch.
- For pop tarts that are too brown, check your oven temperature and reduce the baking time in future batches.
FAQs
- Can I freeze the dough? Yes, you can freeze the puff pastry dough for up to 2 months. Thaw overnight in the fridge before using.
- Is this recipe gluten-free? Unfortunately, traditional puff pastry contains gluten. Look for gluten-free puff pastry alternatives if needed.
- Can I double the recipe? Absolutely! Simply double all the ingredients and follow the instructions as usual.
Conclusion
With these Irresistible Peanut Butter and Jelly Pop Tarts, you’re not just baking a pastry – you’re creating memories. Whether it’s a family baking day, a gift for a friend, or a simple treat for yourself, these pop tarts are sure to bring joy. Feel free to experiment with the recipe, share your creations, and most importantly, enjoy the process and the delicious outcome. Happy baking!
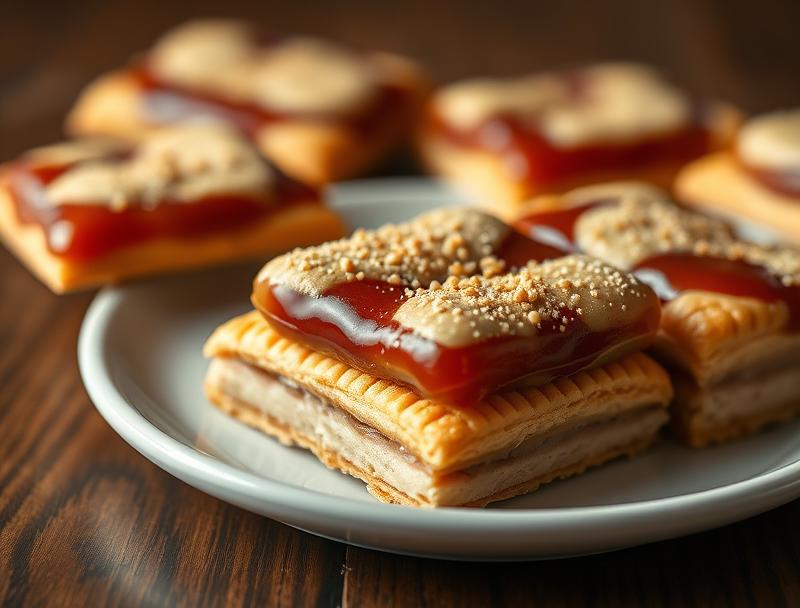
Irresistible Peanut Butter and Jelly Pop Tarts
A delicious homemade pastry filled with peanut butter and jelly, perfect for breakfast, snacks, or as a gift.
🥘 Ingredients
👩🍳 Instructions
-
1Preheat the oven to 400°F (200°C).
-
2Roll out the puff pastry and cut out rectangles.
-
3Assemble the pop tarts by spooning peanut butter and jelly onto one half of each rectangle, then topping with another rectangle.
-
4Brush the tops with egg wash and bake for 20-25 minutes, or until golden brown.