Pumpkin Patch Brownies – Fudgy, Cute & Perfect for Fall!
Introduction
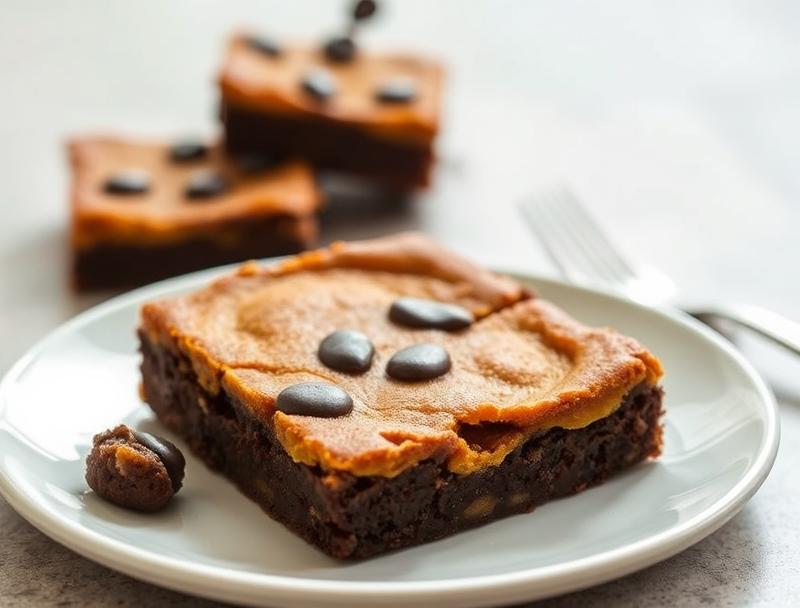
As the leaves start to change and the air grows crisper, our thoughts turn to the warm, comforting flavors of fall. Among the plethora of pumpkin-infused treats that flood our bakeries and homes, one dessert stands out for its simplicity, creativity, and undeniable charm: the Pumpkin Patch Brownie. These fudgy, cute, and perfectly seasonal brownies are not just a delight to eat, but also incredibly easy to make, requiring only everyday ingredients and minimal effort. Whether you’re a seasoned baker or a novice in the kitchen, this recipe is sure to become a new favorite, perfect for snuggling up with a warm cup of coffee or tea on a chilly autumn afternoon.
Why This Works
- The balance of flavors, combining the richness of chocolate with the subtle sweetness of pumpkin, creates a unique and delicious taste experience that’s both familiar and excitingly new.
- The ease of preparation makes this recipe accessible to everyone, regardless of their baking experience. With straightforward steps and common ingredients, it’s a breeze to whip up a batch (or two) of these brownies.
- Despite the simplicity of the recipe, the results are impressively decadent, with a fudgy texture and a beautifully presented pumpkin patch design on top, making them perfect for fall gatherings, potlucks, or as a special treat for the family.
Ingredients
- 1 and 1/2 sticks of unsalted butter, plus more for greasing the pan
- 2 cups of sugar
- 4 large eggs
- 1/2 cup of unsweetened cocoa powder
- 1 teaspoon of vanilla extract
- 1 and 1/4 cups of all-purpose flour
- 1 teaspoon of salt
- 1 cup of semi-sweet chocolate chips
- 1 cup of canned pumpkin puree
- Orange and green frosting or candy melts for the pumpkin design
Instructions
- Step 1: Preheat your oven to 350°F (180°C). Grease an 8-inch square baking pan with butter and line it with parchment paper, leaving some overhang for easy removal.
- Step 2: In a medium bowl, whisk together the flour and salt. Set aside. In a large bowl, use an electric mixer to beat together the butter and sugar until light and fluffy, about 2-3 minutes. Beat in the eggs one at a time, followed by the vanilla extract.
- Step 3: In a separate bowl, melt the chocolate chips in the microwave in 30-second increments, stirring between each interval, until smooth. Allow the chocolate to cool slightly, then beat it into the butter mixture until well combined. With the mixer on low speed, gradually add the flour mixture and mix until just combined. Stir in the pumpkin puree.
- Step 4: Pour the batter into the prepared baking pan and smooth the top. Bake for about 25-30 minutes or until a toothpick inserted into the center comes out with a few moist crumbs attached. Let the brownies cool completely in the pan before frosting and decorating with pumpkin designs.
Handy Tips
- For an extra fudgy texture, don’t overbake the brownies. A slightly underbaked center will yield the best results.
- Use high-quality chocolate for the best flavor. If using candy melts for the pumpkins, you can color white chocolate with orange and green food dye for a more vibrant look.
- Consider using parchment paper with a non-stick spray for easier brownie removal and cleanup.
Heat Control
Maintaining the right oven temperature is crucial for achieving the perfect texture. Ensure your oven is at 350°F (180°C) before baking, and avoid opening the oven door during the baking time to prevent heat loss. The brownies are done when they’re set around the edges and still slightly tender in the center. A toothpick test can help determine doneness, but be careful not to overbake.
Crunch Factor
These brownies are designed to be fudgy and soft, rather than crunchy. However, if you prefer a slightly firmer top, you can broil the brownies for about 30 seconds after baking, watching carefully to avoid burning. For added crunch, you could also sprinkle some chopped nuts over the top of the brownies before baking.
Pro Kitchen Tricks
- To ensure the brownies cut cleanly, refrigerate them for about 30 minutes before slicing. Use a sharp knife and wipe it clean between cuts.
- For a glossy top, melt a small amount of chocolate and spread it over the cooled brownies before decorating.
- Make ahead and freeze the undecorated brownies for up to 2 months. Thaw at room temperature or reheat in the microwave when you’re ready to decorate and serve.
Storage Tips
- Store the brownies in an airtight container at room temperature for up to 3 days. For longer storage, refrigerate for up to 5 days or freeze.
- When freezing, consider cutting the brownies into individual portions, wrapping each tightly in plastic wrap, and then placing them in a freezer-safe bag or container.
- Reheat frozen brownies in the microwave in 10-15 second increments, checking until they’re warmed through to your liking.
Gift Packaging Ideas
These brownies make a wonderful gift, especially during the fall season. Consider packaging them in decorative tin boxes, wooden crates, or even mason jars filled with fall-themed decorations like artificial leaves or small pumpkins. Wrap individual brownies in cellophane bags and tie with twine or ribbon for a rustic, homespun look. Don’t forget to include a personalized note or card with the gift, perhaps with the recipe or a special message.
Flavor Variations
- Spice it up: Add a pinch of cinnamon, nutmeg, or allspice to the batter for an extra depth of flavor.
- Get nutty: Stir in some chopped walnuts or pecans for added texture and flavor.
- Go boozy: Soak some cranberries or cherries in a liquor of your choice (like Grand Marnier or Kahlúa) and fold them into the batter for a grown-up twist.
Troubleshooting
- Texture issues: If your brownies turn out too dry, they may have been overbaked. Conversely, underbaked brownies will be too gooey. Adjust your baking time as needed for the perfect texture.
- Ingredient substitutions: While it’s best to follow the recipe as written, you can substitute the pumpkin puree with an equal amount of mashed sweet potato for a slightly different flavor.
- Over/undercooking signs: Keep an eye on your brownies during the baking time. They should be slightly puffed and set around the edges, with a still slightly tender center.
FAQs
- Can I freeze it? Yes, you can freeze the brownies for up to 2 months. It’s best to freeze them undecorated and thaw at room temperature or reheat in the microwave when ready to decorate and serve.
- Is it gluten-free? The recipe as written contains gluten due to the all-purpose flour. However, you can experiment with gluten-free flour blends to make a gluten-free version, though the texture may vary slightly.
- Can I double the recipe? Yes, you can easily double the recipe to make a larger batch of brownies. Just ensure you have a large enough baking pan and adjust the baking time accordingly, as the thicker layer of batter will take longer to cook through.
Conclusion
With their perfect blend of fudgy texture and autumnal flavors, Pumpkin Patch Brownies are sure to become a staple of your fall baking repertoire. Whether you’re baking for a crowd or just a cozy night in, these brownies are easy to make, fun to decorate, and absolutely delicious to eat. So go ahead, get creative with your pumpkin designs, and enjoy the warmth and comfort these brownies bring to your kitchen and your heart. Happy baking, and don’t forget to share your creations with friends and family to spread a little joy this fall season!