Quick and Tasty Pocket Cheese for Busy Lives
Introduction
Imagine a world where you can indulge in the creamy, rich taste of cheese, perfectly balanced with a blend of herbs and spices, all wrapped up in a convenient package that fits right in the palm of your hand. Welcome to the realm of Quick and Tasty Pocket Cheese, designed specifically for busy lives where every moment counts, yet the desire for delicious, homemade food never fades. This recipe is all about ease, flavor, and creativity, using everyday ingredients to create something truly special. Whether you’re a college student looking for a quick snack, a working professional seeking a satisfying lunch, or a parent trying to please picky eaters, this pocket cheese recipe is the perfect solution. It’s easy to make, packed with flavor, and incredibly versatile, allowing you to customize it to your heart’s content.
Why This Works
- Flavor balance and ingredient accessibility: The combination of cheese, herbs, and spices creates a flavor profile that is both comforting and exciting, while the ingredients are easily found in most supermarkets.
- Ease of preparation: This recipe requires minimal preparation time and effort, making it ideal for busy schedules. Simply mix, fill, and bake – it’s that straightforward.
- Impressive results with minimal effort: Despite its simplicity, the end result is impressive and satisfying, perfect for a quick meal, snack, or even as a dish to take to gatherings and events.
Ingredients
- 1 cup shredded mozzarella cheese
- 1/2 cup shredded cheddar cheese
- 1/4 cup chopped fresh parsley
- 1/4 cup chopped fresh basil
- 1 tablespoon olive oil
- 1 teaspoon garlic powder
- 1/2 teaspoon salt
- 1/4 teaspoon black pepper
- 1 package of puff pastry, thawed
- 1 egg, beaten (for egg wash)
Instructions
- Step 1: Preheat your oven to 400°F (200°C). Line a baking sheet with parchment paper.
- Step 2: In a medium bowl, mix together the mozzarella, cheddar, parsley, basil, olive oil, garlic powder, salt, and pepper until well combined.
- Step 3: Roll out the puff pastry on a lightly floured surface to a thickness of about 1/8 inch. Cut out squares of pastry, approximately 3 inches by 3 inches.
- Step 4: Place a tablespoon or two of the cheese mixture onto one half of each square, leaving a 1/2 inch border around the edges. Brush the edges with the beaten egg for a golden glaze. Fold the other half of the pastry square over the filling to form a triangle or square shape, pressing the edges to seal. Use a fork to crimp the edges.
- Step 5: Place the pocket cheeses on the prepared baking sheet, leaving about 1 inch of space between each pocket. Brush the tops with the remaining egg wash.
- Step 6: Bake for 15-20 minutes, or until the pastry is golden brown. Serve warm and enjoy!
Handy Tips
- For an extra crispy pastry, make sure to chill the filled pockets in the refrigerator for about 15 minutes before baking.
- Experiment with different types of cheese and herbs to find your favorite combination. Goat cheese and sun-dried tomatoes make for a delicious variation.
- These pocket cheeses can be made ahead of time and frozen before baking. Simply bake frozen pockets for an additional 5-10 minutes.
Heat Control
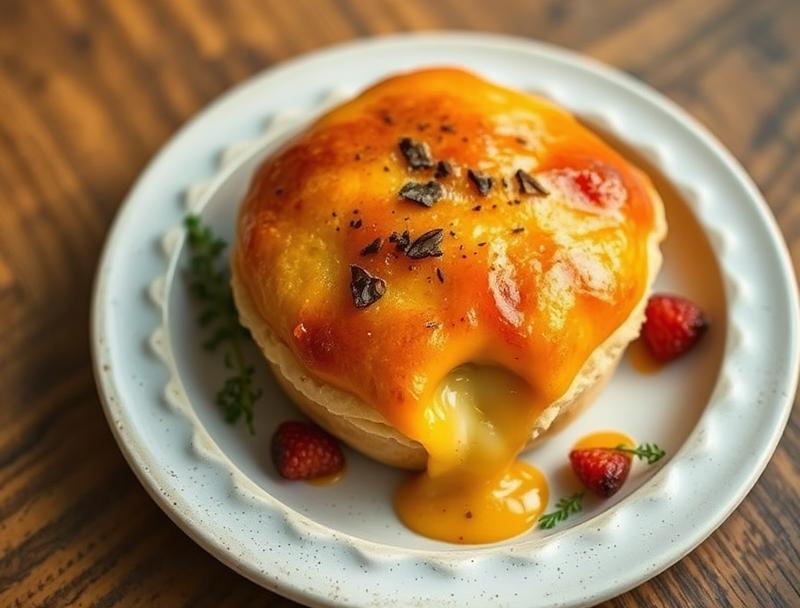
The ideal temperature for baking the pocket cheeses is 400°F (200°C), and they should be baked for 15-20 minutes, or until the pastry is golden brown. Keep an eye on them after 12 minutes, as oven temperatures can vary. The pastry should be golden, and the cheese should be melted and slightly oozing out – a sign of perfect doneness.
Crunch Factor
The crunch factor in these pocket cheeses comes from the pastry, which should be flaky and crispy on the outside, giving way to a soft, cheesy interior. To achieve this, make sure not to overwork the pastry dough, and keep the pockets chilled before baking to help the pastry hold its shape and bake up nicely.
Pro Kitchen Tricks
- Use high-quality ingredients: While it might be tempting to use cheaper alternatives, remember that the quality of your ingredients directly impacts the flavor and texture of your final product.
- Don’t overfill the pockets: Leave enough room for the cheese to melt and expand during baking. Overfilling can lead to messy pockets and a less enjoyable eating experience.
- Clean as you go: Baking can be messy, especially when working with pastry and cheese. Cleaning up spills and washing utensils as you go makes the entire process more manageable and less stressful.
Storage Tips
- Baked pocket cheeses can be stored in an airtight container in the refrigerator for up to 3 days. Reheat in the oven or microwave until warmed through.
- Unbaked, filled pockets can be frozen for up to 2 months. Simply place the pockets on a baking sheet lined with parchment paper, making sure they don’t touch, and freeze until solid. Transfer the frozen pockets to a freezer-safe bag or container for storage.
- When reheating frozen pockets, bake at 400°F (200°C) for an additional 5-10 minutes, or until the pastry is golden and the cheese is melted.
Gift Packaging Ideas
These pocket cheeses make wonderful gifts, especially when packaged thoughtfully. Consider placing a few baked pockets in a decorative tin or jar, wrapped in a checkered cloth and tied with twine. For a more rustic look, place the pockets in a small, lined basket and cover with a piece of parchment paper, secured with a ribbon. Don’t forget to include a personalized note or card with baking instructions for a truly special touch.
Flavor Variations
- Different spices: Add a pinch of cayenne pepper for a spicy kick, or some dried oregano for a Mediterranean twist.
- Creative toppings: Before baking, top the pocket cheeses with some grated parmesan, chopped fresh herbs, or a sprinkle of paprika for added flavor and visual appeal.
- Ingredient swaps: Replace the mozzarella with feta for a tangier flavor, or use different types of pastry, like filo or shortcrust, for a varied texture.
Troubleshooting
- Texture problems: If the pastry turns out too soggy, it might be due to overfilling or not baking long enough. If it’s too dry, the pockets might have been overbaked.
- Ingredient replacements: Always try to use the ingredients listed, but if you must substitute, choose items with similar properties. For example, you could replace cheddar with another firm, melting cheese.
- Over/undercooking signs: Keep an eye on the pastry’s color and the cheese’s melt. If the pastry is too pale, it might not be done. If it’s too dark, it could be overcooked. The cheese should be melted and slightly bubbly.
FAQs
- Can I freeze it? Yes, both baked and unbaked pocket cheeses can be frozen. See the storage tips section for more information.
- Is it gluten-free? The puff pastry typically contains gluten, making this recipe not suitable for those with gluten intolerance or sensitivity. However, you could experiment with gluten-free pastry alternatives.
- Can I double the recipe? Absolutely! Simply multiply all the ingredients by two. You might need to adjust the baking time slightly, so keep an eye on the pockets to ensure they don’t overcook.
Conclusion
With the Quick and Tasty Pocket Cheese recipe, you’re not just making a meal or snack; you’re creating a moment of joy and satisfaction. Whether you’re enjoying these on your own or sharing with loved ones, the combination of melted cheese, crispy pastry, and fresh herbs is sure to please even the pickiest of eaters. Feel free to experiment with different flavors and ingredients to make this recipe your own, and don’t hesitate to share your creations with friends and family. Happy baking, and remember, in the kitchen, it’s all about having fun and making memories!
Quick and Tasty Pocket Cheese for Busy Lives
A quick, easy, and delicious pocket cheese recipe perfect for busy lives, made with puff pastry, mozzarella, cheddar, and fresh herbs.
🥘 Ingredients
👩🍳 Instructions
-
1Preheat the oven to 400°F (200°C).
-
2Mix the cheese, parsley, basil, olive oil, garlic powder, salt, and pepper in a bowl.
-
3Roll out the puff pastry and cut into squares.
-
4Place a spoonful of the cheese mixture onto one half of each square, brush the edges with egg wash, and fold the pastry over to seal.
-
5Brush the tops with egg wash and bake for 15-20 minutes, or until golden brown.