Pie Crust Snacking Cookies
Introduction
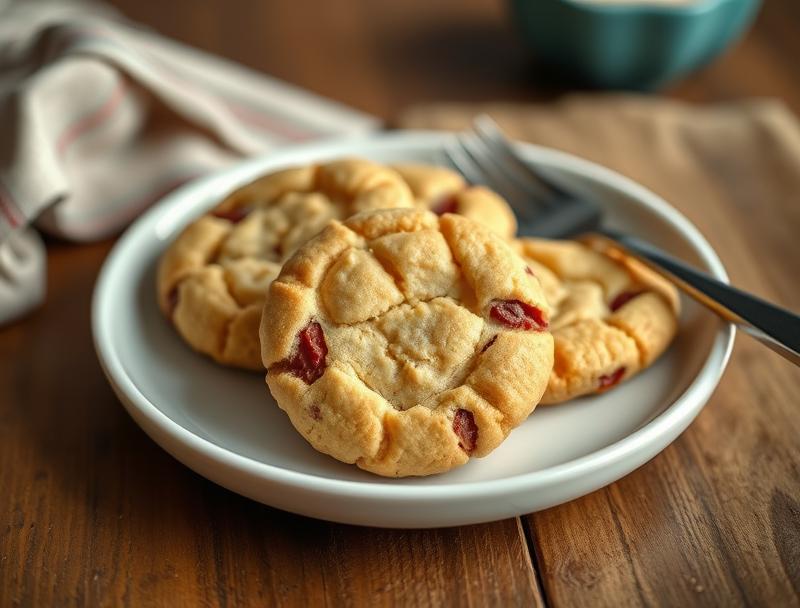
Imagine a world where the flaky, buttery goodness of pie crust meets the convenience and delight of a snacking cookie. Welcome to the realm of Pie Crust Snacking Cookies, a creative twist on traditional baking that combines the best of both worlds into a single, delectable treat. These cookies are not only easy to make, using everyday ingredients, but they also offer a versatility in flavor and texture that will keep your taste buds entertained and your creativity sparked. Whether you’re a seasoned baker or a culinary newbie, these snacking cookies are sure to become a favorite, perfect for satisfying your sweet tooth or as a thoughtful gift for friends and family.
Why This Works
- The balance of flavors, from the richness of butter to the subtle sweetness, creates a cookie that is both satisfying and addictive, without being overly sweet.
- The ease of preparation makes these cookies accessible to anyone, regardless of baking experience. With simple steps and minimal ingredients, you can have a batch ready in no time.
- Despite the simplicity, the end result is impressive, with a texture that is both crispy and chewy, making them perfect for snacking on the go or serving at gatherings.
Ingredients
- 2 1/4 cups all-purpose flour
- 1 tsp salt
- 1 cup cold unsalted butter, cut into small pieces
- 1/4 cup granulated sugar
- 1 egg, beaten (for egg wash)
- Optional: Various flavorings like cinnamon, nutmeg, or dried fruits to customize your cookies
Instructions
- Step 1: Begin by prepping your ingredients. In a large mixing bowl, whisk together the flour and salt. Then, add the cold butter and use a pastry blender or your fingers to work the butter into the flour until the mixture resembles coarse crumbs.
- Step 2: Gradually add the granulated sugar and mix until just combined. The mixture should still look a bit crumbly. Turn the dough out onto a lightly floured surface and gently knead it a few times until it comes together into a cohesive ball.
- Step 3: Divide the dough into smaller portions, depending on how large you want your cookies to be. Roll each portion into a ball and then flatten slightly into a disk shape. Use a fork to create a decorative edge around the cookie, if desired.
- Step 4: Place the cookies on a baking sheet lined with parchment paper, leaving about 1 inch of space between each cookie. Brush the tops with the beaten egg for a golden glaze. Bake in a preheated oven at 375°F (190°C) for about 20-25 minutes, or until the edges are lightly golden.
Handy Tips
- Keep your butter cold, as this will help the cookies to retain their shape and bake up with a flaky texture.
- Don’t overwork the dough, as this can lead to tough cookies.
- Experiment with different flavorings like vanilla, almond extract, or even a pinch of salt to give your cookies a unique twist.
Heat Control
When baking these cookies, it’s crucial to keep an eye on them, especially towards the end of the baking time. The ideal temperature is 375°F (190°C), and the cookies are done when they are lightly golden around the edges. Overbaking can lead to cookies that are too hard, so it’s better to err on the side of underbaking slightly, as they will continue to cook a bit after being removed from the oven.
Crunch Factor
The crunch factor in these cookies comes from the buttery, flaky pastry exterior giving way to a slightly chewy interior. To achieve this perfect balance, make sure not to overbake, and consider chilling the shaped cookies in the refrigerator for about 30 minutes before baking to help them retain their shape and bake up with a better texture.
Pro Kitchen Tricks
- For an extra flaky texture, try folding the dough over on itself a few times after it comes together, similar to laminating dough for puff pastry.
- Use a variety of sugars, like brown sugar or turbinado sugar, for a deeper flavor profile.
- Consider using a pastry blender or a food processor to work the butter into the flour for a more efficient and less messy process.
Storage Tips
- These cookies are best stored in an airtight container at room temperature for up to 3 days. They can also be frozen for up to 2 months and thawed at room temperature when needed.
- For the freshest flavor, bake the cookies just before serving, or freeze the shaped cookies before baking and bake from frozen, adding a few extra minutes to the baking time.
Gift Packaging Ideas
These cookies make a wonderful gift, especially when packaged in decorative tins, jars, or bags. Consider adding a ribbon or a gift tag with a personal message for a touch of elegance. You can also include a packet of gourmet coffee or tea for a complete gift set.
Flavor Variations
- Spiced Delight: Add a pinch of cinnamon, nutmeg, or cardamom to the dough for a warm, spiced flavor.
- Fruity Twist: Mix in some dried cranberries or cherries for a fruity and sweet surprise.
- Nutty Flavor: Add some chopped nuts like walnuts or pecans for added texture and flavor.
Troubleshooting
- Texture Problems: If your cookies turn out too hard, they were likely overbaked. If they’re too soft, they might have been underbaked.
- Ingredient Replacements: While butter is essential for the flaky texture, you can experiment with other fats like coconut oil or lard for different flavors.
- Over/Undercooking Signs: Keep an eye on the color and texture. Lightly golden edges and a firm but yielding center are signs of perfect doneness.
FAQs
- Can I freeze the dough? Yes, you can freeze the dough for up to 2 months. Simply thaw in the refrigerator overnight before proceeding with the recipe.
- Is this recipe gluten-free? No, this recipe uses all-purpose flour and is not gluten-free. However, you can experiment with gluten-free flours for a gluten-free version.
- Can I double the recipe? Yes, you can easily double or triple the recipe to make more cookies. Just be sure to adjust the baking time slightly if you’re baking a larger batch.
Conclusion
Making Pie Crust Snacking Cookies is a fun and rewarding baking experience that yields delicious results with minimal effort. Whether you’re baking for yourself or for others, these cookies are sure to bring joy and satisfaction. Don’t be afraid to experiment with different flavors and ingredients to make the recipe your own, and enjoy the process of creating something truly special. Happy baking!
Pie Crust Snacking Cookies
A twist on traditional baking, combining pie crust with snacking cookies for a delicious and easy-to-make treat.
🥘 Ingredients
👩🍳 Instructions
-
1Prep ingredients by whisking together flour and salt, then adding cold butter and mixing until crumbly.
-
2Gradually add granulated sugar and mix until just combined, then knead the dough gently until it comes together.
-
3Divide the dough into smaller portions, shape into disks, and brush with beaten egg for a golden glaze.
-
4Bake in a preheated oven at 375°F (190°C) for about 20-25 minutes, or until the edges are lightly golden.