Easy Marshmallow Cheesecake – A Whipped Cream Cheese Delight
Introduction
This Easy Marshmallow Cheesecake is a game-changer for anyone with a sweet tooth. It combines the richness of cheesecake with the fluffy delight of marshmallows, all wrapped up in a package that’s surprisingly easy to make. The best part? It uses everyday ingredients that you might already have in your pantry, making it a creative and accessible dessert option for any occasion. Whether you’re a seasoned baker or just starting out, this recipe is sure to impress with its unique flavor combination and elegant presentation.
Why This Works
- The balance of flavors between the marshmallows, cream cheese, and graham cracker crust is perfectly balanced, ensuring that each bite is a delight for the taste buds.
- The preparation is remarkably straightforward, requiring minimal effort for such an impressive dessert. This makes it perfect for busy days or when you need a quick dessert solution.
- Despite its ease of preparation, the end result is nothing short of impressive. The combination of textures and flavors will make your guests believe you spent hours in the kitchen, even though you didn’t.
Ingredients
- 1 1/2 cups graham cracker crumbs
- 1/4 cup granulated sugar
- 1/2 cup unsalted butter, melted
- 16 ounces cream cheese, softened
- 1/2 cup granulated sugar
- 4 large eggs, separated
- 1 teaspoon vanilla extract
- 1 cup mini marshmallows
- 1 cup heavy cream, whipped
Instructions
- Step 1: Preheat your oven to 350°F (175°C). In a medium bowl, mix together the graham cracker crumbs and sugar. Pour in the melted butter and stir until the crumbs are evenly moistened. Press this mixture into the bottom of a 9-inch springform pan. Bake for 10 minutes, then let cool completely.
- Step 2: In a large mixing bowl, beat the cream cheese until smooth. Add the granulated sugar and beat until combined. Beat in the egg yolks one at a time, followed by the vanilla extract.
- Step 3: In a separate bowl, beat the egg whites until stiff peaks form. Fold the egg whites into the cream cheese mixture until no white streaks remain. Stir in the mini marshmallows.
- Step 4: Pour the cheesecake batter into the prepared pan over the crust. Bake for 50-60 minutes or until the edges are set and the center is slightly jiggly. Let cool in the pan for 1 hour before running a knife around the edges and releasing the springform. Let cool completely on a wire rack.
- Step 5: Once the cheesecake is cool, top it with whipped heavy cream. You can also toast some marshmallows on top with a kitchen torch for an extra-glamorous look.
Handy Tips
- Make sure to not overmix the batter, as this can lead to a dense cheesecake. Stop mixing as soon as the ingredients come together.
- If you find that your marshmallows are sinking to the bottom of the batter, try folding them in more gently or adding them in two batches, mixing lightly between additions.
- For a water bath, wrap the outside of the springform pan with foil and place it in a larger pan filled with hot water to about halfway up the sides of the springform. This can help the cheesecake cook more evenly and prevent cracking.
Heat Control
When baking the cheesecake, it’s crucial to keep an eye on the temperature and timing. The ideal temperature is 350°F (175°C), and you should bake for 50-60 minutes. The cheesecake is done when the edges are set, and the center is slightly jiggly. Avoid overbaking, as this can cause the cheesecake to dry out.
Crunch Factor
The crunch factor in this dessert comes from the graham cracker crust, providing a nice textural contrast to the smooth cheesecake and fluffy marshmallows. To ensure the crust remains crunchy, avoid overbaking it during the initial 10 minutes. If you prefer a crunchier topping, you can also sprinkle some toasted nuts or cookie crumbs over the whipped cream.
Pro Kitchen Tricks
- To ensure your cheesecake releases cleanly from the pan, make sure to grease the pan lightly before adding the crust, and run a knife around the edges before it cools completely.
- For a smooth cheesecake, make sure all your ingredients are at room temperature before starting. This includes the cream cheese, eggs, and butter.
- Consider using a water bath to bake your cheesecake. This method can help prevent cracking and ensure the cheesecake cooks evenly throughout.
Storage Tips
- Once cooled, the cheesecake can be stored in the refrigerator for up to 5 days. Wrap it tightly in plastic wrap or aluminum foil to prevent drying out.
- For longer storage, you can freeze the cheesecake. Wrap it tightly in plastic wrap and then in aluminum foil, and store in the freezer for up to 2 months. Thaw overnight in the refrigerator before serving.
- Whipped cream is best added just before serving, as it will deflate over time. However, you can prepare the whipped cream ahead of time and store it in the refrigerator for a few hours before topping the cheesecake.
Gift Packaging Ideas
If you’re looking to give this cheesecake as a gift, consider packaging it in a decorative tin or on a platter covered with plastic wrap or aluminum foil. You can also add a personal touch by including a handwritten note or a sprinkle of edible decorations on top. For a more rustic look, wrap the cheesecake in a piece of parchment paper and tie with twine, adding a gift tag with the ingredients used or baking instructions.
Flavor Variations
- Try adding different extracts like almond or coconut to the cheesecake batter for a unique twist.
- Use different types of marshmallows, such as large marshmallows cut into smaller pieces or flavored marshmallows, to change up the texture and flavor.
- Swap out the graham cracker crust for a different type of cookie crust, like chocolate sandwich cookies or wafers, for a different flavor profile.
Troubleshooting
- If your cheesecake cracks, it could be due to overbaking or sudden temperature changes. To minimize cracking, ensure the cheesecake cools slowly and evenly.
- If the texture is not as expected, check your ingredient measurements and ensure you didn’t overmix the batter. Also, verify that your ingredients were at room temperature before mixing.
- For issues with the marshmallows sinking, refer to the handy tips section for advice on folding them into the batter more effectively.
FAQs
- Can I freeze it? Yes, you can freeze the cheesecake for up to 2 months. Wrap it tightly and store in the freezer. Thaw overnight in the refrigerator before serving.
- Is it gluten-free? The graham cracker crust typically contains gluten. To make a gluten-free version, substitute the graham cracker crumbs with a gluten-free alternative.
- Can I double the recipe? Yes, you can double the recipe, but you’ll need to adjust the baking time accordingly. Keep an eye on the cheesecake to ensure it doesn’t overcook.
Conclusion
This Easy Marshmallow Cheesecake is a delightful dessert that combines the best of both worlds: the richness of cheesecake and the whimsy of marshmallows. With its straightforward preparation and impressive presentation, it’s perfect for any occasion, from casual gatherings to special events. Feel free to experiment with different flavor variations and toppings to make it your own, and don’t hesitate to reach out if you have any questions or need further assistance. Happy baking, and enjoy the delightful experience of creating and sharing this wonderful dessert!
Easy Marshmallow Cheesecake – A Whipped Cream Cheese Delight
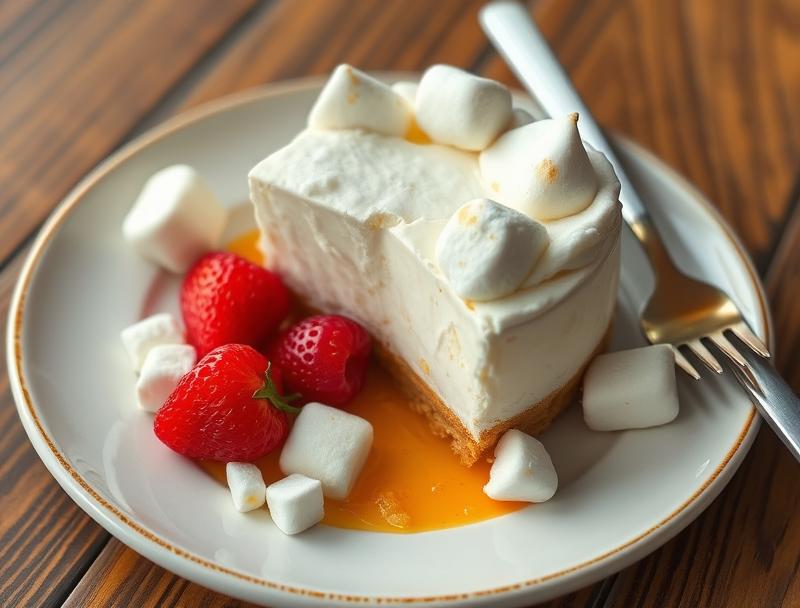
A delicious and easy-to-make cheesecake that combines the richness of cream cheese with the fluffy delight of marshmallows, all on a crunchy graham cracker crust.
🥘 Ingredients
👩🍳 Instructions
-
1Preheat the oven to 350°F (175°C).
-
2Prepare the graham cracker crust and bake for 10 minutes.
-
3Prepare the cheesecake batter and pour into the baked crust.
-
4Bake the cheesecake for 50-60 minutes or until the edges are set and the center is slightly jiggly.
-
5Let the cheesecake cool, then top with whipped cream and toasted marshmallows if desired.