Homemade Buster Bar Ice Cream Pops – Dairy Queen Copycat Summer Treat!
Introduction
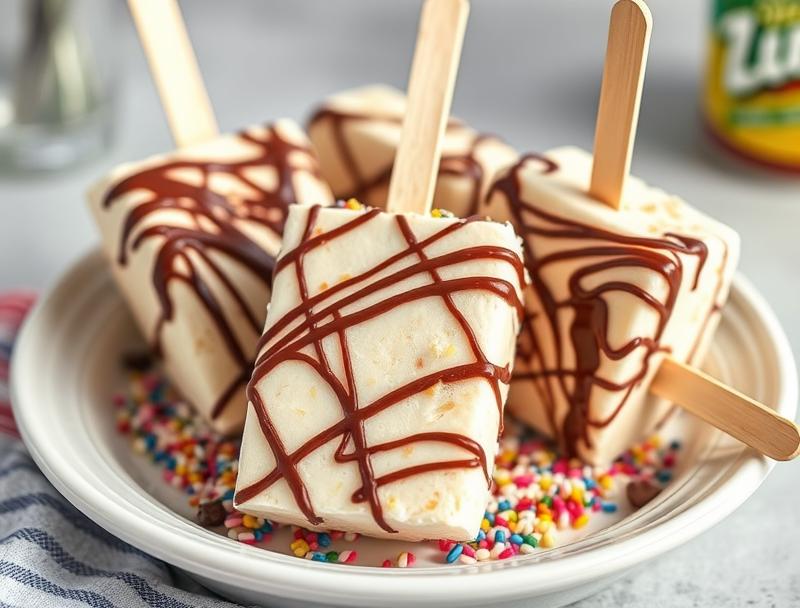
Summer just got a whole lot sweeter with these Homemade Buster Bar Ice Cream Pops, a delicious Dairy Queen copycat treat that’s easy to make and fun to eat. Using everyday ingredients, you can create a cool, creamy, and dreamy dessert that’s perfect for hot summer days. The best part? You don’t need any special equipment or fancy ingredients to make these tasty pops. With just a few simple steps, you can enjoy the classic Buster Bar flavor in the comfort of your own home.
Why This Works
- Flavor balance and ingredient accessibility: The combination of vanilla ice cream, chocolate, and peanuts is a match made in heaven, and you can easily find all the ingredients at your local grocery store.
- Ease of preparation: The steps to make these ice cream pops are straightforward and require minimal effort, making it a great project for a weekend afternoon or a fun activity to do with the kids.
- Impressive results with minimal effort: Despite being easy to make, these ice cream pops look and taste like a professional treat, making them perfect for serving at parties or as a special dessert for your family.
Ingredients
- 1 1/2 quarts of vanilla ice cream
- 1 cup of chocolate chips (milk chocolate or semi-sweet)
- 1/2 cup of peanuts (chopped)
- 1/4 cup of peanut butter cups (chopped)
- 10-12 ice pop sticks or handles
- Optional: sprinkles, chopped nuts, or shredded coconut for garnish
Instructions
- Step 1: Start by scooping the vanilla ice cream into balls, about 1 1/2 inches in diameter. You should end up with around 10-12 balls of ice cream.
- Step 2: Melt the chocolate chips in a double boiler or in the microwave in 30-second increments, stirring between each interval until smooth. Dip the end of each ice pop stick or handle into the melted chocolate and insert into each ball of ice cream.
- Step 3: Roll each ice cream ball in the chopped peanuts to coat, pressing the peanuts gently onto the ice cream to help them stick. Place the coated ice cream balls on a baking sheet lined with parchment paper.
- Step 4: Drizzle the melted chocolate over the ice cream balls, making sure to cover the entire surface. Immediately sprinkle with chopped peanut butter cups and any other desired toppings.
- Step 5: Place the baking sheet in the freezer and let the ice cream pops freeze for at least 30 minutes to set the chocolate and peanuts. Serve frozen and enjoy!
Handy Tips
- To make the ice cream pops more stable, you can dip the stick or handle into the melted chocolate and then insert it into the ice cream ball, letting it set for a few seconds before coating with peanuts.
- If you find that your ice cream is too soft to work with, you can place it in the freezer for about 10-15 minutes to firm it up before scooping into balls.
- Experiment with different types of nuts or toppings to create unique flavor combinations and textures.
Heat Control
When melting the chocolate, be careful not to overheat it, as this can cause the chocolate to seize up and become grainy. If using a microwave, heat in short intervals and stir between each interval until smooth. If using a double boiler, make sure the water is not boiling and the chocolate is not overheating.
Crunch Factor
The peanuts and peanut butter cups provide a nice crunch and texture contrast to the smooth ice cream and chocolate. To achieve the perfect crunch, make sure to press the peanuts gently onto the ice cream ball and sprinkle the peanut butter cups immediately after drizzling the melted chocolate.
Pro Kitchen Tricks
- To make the ice cream pops more visually appealing, you can drizzle with a little extra melted chocolate and sprinkle with chopped nuts or sprinkles just before serving.
- Consider using a variety of ice cream flavors, such as strawberry or cookies and cream, to create unique and delicious flavor combinations.
- For a fun twist, you can add a few drops of food coloring to the melted chocolate to create colorful and festive ice cream pops.
Storage Tips
- Store the ice cream pops in an airtight container in the freezer to keep them fresh for up to 3-4 days.
- When serving, let the ice cream pops sit at room temperature for a few minutes to soften slightly, making them easier to eat.
- Consider making a batch of ice cream pops and storing them in the freezer for a quick and easy dessert or snack anytime.
Gift Packaging Ideas
These ice cream pops are perfect for gift-giving, especially during the summer months. Consider packaging them in a cute paper cone or bag with a ribbon and a gift tag. You can also add a few extra treats, such as candy or cookies, to make the gift even more special.
Flavor Variations
- Try using different types of nuts, such as almonds or walnuts, for a unique flavor and texture.
- Experiment with various ice cream flavors, such as mint chocolate chip or peanut butter cup, to create unique and delicious flavor combinations.
- Consider adding a few drops of extract, such as vanilla or almond, to the melted chocolate for an extra boost of flavor.
Troubleshooting
- If the ice cream is too soft, try placing it in the freezer for a few minutes to firm it up before scooping into balls.
- If the chocolate is too thick, try heating it up for a few seconds in the microwave or over a double boiler to thin it out.
- If the peanuts are not sticking to the ice cream, try pressing them gently onto the surface before freezing.
FAQs
- Can I freeze the ice cream pops for a longer period of time? Yes, you can freeze the ice cream pops for up to 2-3 months. Just make sure to store them in an airtight container to keep them fresh.
- Are these ice cream pops gluten-free? Yes, these ice cream pops are gluten-free, making them a great option for those with gluten intolerance or sensitivity.
- Can I make a batch of ice cream pops and store them in the freezer for later? Yes, you can make a batch of ice cream pops and store them in the freezer for up to 3-4 days. Just make sure to store them in an airtight container to keep them fresh.
Conclusion
With these Homemade Buster Bar Ice Cream Pops, you can enjoy the classic Dairy Queen treat in the comfort of your own home. The combination of vanilla ice cream, chocolate, and peanuts is a match made in heaven, and the best part is that you can customize the recipe to your liking with different flavors and toppings. So go ahead, get creative, and make a batch of these delicious ice cream pops to enjoy all summer long!
Homemade Buster Bar Ice Cream Pops – Dairy Queen Copycat Summer Treat!
A delicious and easy-to-make Dairy Queen copycat treat, perfect for hot summer days. Made with vanilla ice cream, chocolate, and peanuts, these ice cream pops are a classic flavor combination that's sure to please.
🥘 Ingredients
👩🍳 Instructions
-
1Scoop the vanilla ice cream into balls, about 1 1/2 inches in diameter.
-
2Melt the chocolate chips in a double boiler or in the microwave in 30-second increments, stirring between each interval until smooth.
-
3Dip the end of each ice pop stick or handle into the melted chocolate and insert into each ball of ice cream.
-
4Roll each ice cream ball in the chopped peanuts to coat, pressing the peanuts gently onto the ice cream to help them stick.
-
5Drizzle the melted chocolate over the ice cream balls, making sure to cover the entire surface. Immediately sprinkle with chopped peanut butter cups and any other desired toppings.
-
6Place the baking sheet in the freezer and let the ice cream pops freeze for at least 30 minutes to set the chocolate and peanuts.