Mini Breakfast Quesadilla Circles – Cheesy, Crispy & Perfectly Bite-Sized!
Introduction
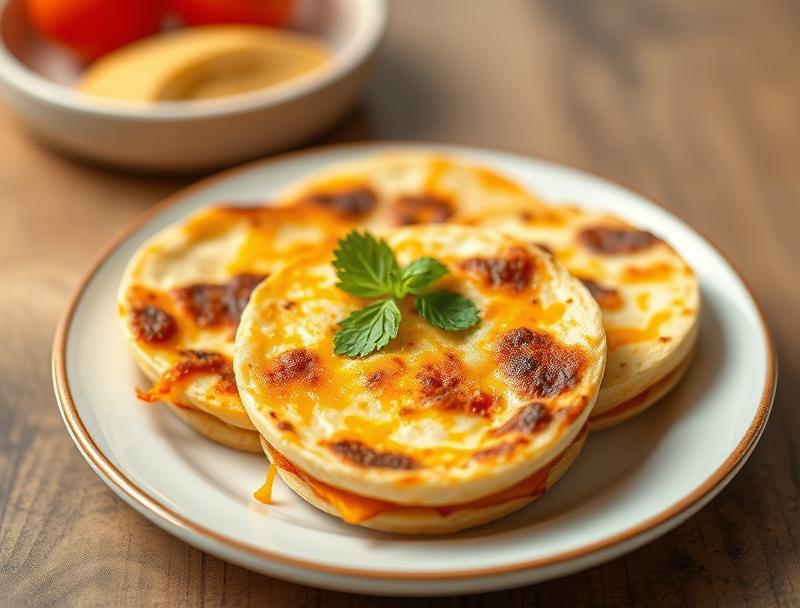
Starting your day off right just got a whole lot easier and more delicious with these Mini Breakfast Quesadilla Circles. Imagine a perfectly balanced bite of crispy tortilla, gooey cheese, and savory fillings, all in a convenient, bite-sized package. These mini quesadillas are not just a treat for the taste buds, but they’re also incredibly easy to make, using everyday ingredients that you likely have on hand. Whether you’re a busy parent looking for a quick breakfast solution, a brunch enthusiast seeking a new favorite dish, or simply someone who loves the combination of cheese, tortillas, and fillings, these Mini Breakfast Quesadilla Circles are sure to become a staple in your kitchen. With their versatility and ease of preparation, they’re perfect for any time of day, from a speedy breakfast to a satisfying snack or light lunch.
Why This Works
- Flavor balance and ingredient accessibility: The beauty of these mini quesadillas lies in their simplicity and the use of readily available ingredients. You can easily customize them with your favorite fillings, ensuring that every bite is packed with flavor.
- Ease of preparation: One of the standout features of this recipe is how quickly and effortlessly you can prepare it. From start to finish, you’re looking at a remarkably short time frame, making it ideal for busy mornings or any time you need a fast yet satisfying meal.
- Impressive results with minimal effort: Despite the simplicity of the ingredients and the preparation process, the end result is nothing short of impressive. These mini quesadillas are not only delicious, but they also present beautifully, making them perfect for serving to guests or as a special treat for the family.
Ingredients
- 8-10 small tortillas (preferably flour tortillas for a softer bite)
- 2 cups shredded cheese (a mix of cheddar and mozzarella works well for melt and flavor)
- 1/2 cup diced ham or bacon, cooked
- 1/2 cup diced bell peppers
- 1/2 cup diced onions
- 2 cloves garlic, minced
- 2 large eggs
- Salt and pepper, to taste
- 1 tablespoon olive oil
- Optional fillings: diced mushrooms, diced tomatoes, chopped spinach, etc.
Instructions
- Step 1: Begin by preparing your fillings. Dice the ham or bacon, bell peppers, onions, and mince the garlic. Set aside. In a bowl, beat the eggs and season with salt and pepper to taste. Scramble the eggs in a pan with a little olive oil until they’re just set, then set aside to cool.
- Step 2: Lay out a tortilla and place a tablespoon or two of shredded cheese in the center. Add a few pieces of your chosen fillings on top of the cheese. Place a spoonful of the scrambled eggs over the fillings. Sprinkle a little more cheese on top to help bind everything together.
- Step 3: Fold the tortilla in half to enclose the fillings, forming a half-circle shape. Press the edges together gently to seal the quesadilla. Use a cookie cutter or the rim of a glass to cut out a circle from the folded tortilla, creating your mini quesadilla circle. Repeat with the remaining tortillas and fillings.
- Step 4: Heat a large non-stick skillet or griddle over medium heat. Add a small amount of olive oil to the pan. Once the oil is hot, add a few of the mini quesadilla circles to the pan (do not overcrowd). Cook for about 2-3 minutes on each side, until they’re crispy and golden brown, and the cheese is melted. Repeat with the remaining quesadillas.
Handy Tips
- For an extra crispy exterior, you can lightly brush the tops of the quesadillas with a little bit of oil before cooking. This will help them brown more evenly and give them a satisfying crunch.
- Experiment with different types of cheese and fillings to find your favorite combinations. The beauty of these mini quesadillas is their versatility, so don’t be afraid to get creative!
- Consider preparing the fillings and scrambling the eggs ahead of time to make the assembly and cooking process even quicker.
Heat Control
Maintaining the right heat is crucial for achieving the perfect crisp on the outside and melt on the inside. Medium heat is usually ideal, as it allows for a gentle cooking process that won’t burn the tortillas before the cheese has a chance to melt. Keep an eye on the quesadillas as they cook, adjusting the heat as necessary to prevent burning. You’re aiming for a golden brown color and a crispy texture that gives way to a gooey, cheesy interior.
Crunch Factor
Achieving the right crunch factor is all about the cooking technique. Cooking the quesadillas in a skillet with a small amount of oil over medium heat helps to crisp up the tortilla without making it too hard or burnt. The key is to not overcrowd the pan, allowing each quesadilla to cook evenly on both sides. Additionally, using fresh, high-quality tortillas will make a big difference in the texture and crunch of your finished quesadillas.
Pro Kitchen Tricks
- Use a variety of cheeses for a deeper, richer flavor profile. Mixing different types of cheese can add complexity and interest to your quesadillas.
- Don’t overfill the quesadillas. While it’s tempting to add as much filling as possible, overfilling can lead to difficult sealing and cooking. Balance is key to achieving the perfect bite.
- Keep your ingredients ready and within reach. Having all your fillings, cheese, and tortillas prepared and laid out can make the assembly process much smoother and more efficient.
Storage Tips
- These mini quesadillas can be made ahead of time and refrigerated for up to a day or frozen for up to a month. Simply cook them as directed, then let them cool completely before storing.
- For reheating, place the quesadillas in a toaster oven at 350°F (180°C) for a few minutes, or microwave them for 20-30 seconds, until warmed through and crispy again.
- Store them in an airtight container to maintain freshness. If freezing, consider placing them in a single layer in a freezer-safe bag to prevent sticking.
Gift Packaging Ideas
If you’re considering gifting these delicious mini quesadillas, presentation can make all the difference. Wrap them individually in parchment paper or aluminum foil and place them in a decorative tin or basket. Add a personalized note or a small jar of your favorite salsa or dipping sauce for an extra-special touch. For a more rustic appeal, use a paper bag and twine, adding a handwritten label with cooking instructions and your favorite filling combinations.
Flavor Variations
- Different spices: Add a pinch of cumin, chili powder, or smoked paprika to give your quesadillas a smoky, spicy flavor.
- Creative toppings: Top your quesadillas with diced tomatoes, sour cream, salsa, avocado, or cilantro for added freshness and flavor.
- Ingredient swaps: Try using different types of cheese, such as feta or goat cheese, for a tangier taste. You can also swap out the ham or bacon for roasted vegetables or black beans for a vegetarian option.
Troubleshooting
- Texture problems: If your quesadillas are turning out too hard or crispy, it may be due to overcooking. Try reducing the cooking time or heat. Conversely, if they’re not crispy enough, a slightly higher heat or a few more seconds in the pan can help.
- Ingredient replacements: Don’t have a particular ingredient? Feel free to substitute with something similar. For example, you can use diced chicken instead of ham, or spinach instead of bell peppers.
- Over/undercooking signs: Keep an eye on the color and texture of your quesadillas. They should be golden brown and crispy on the outside, with a melted, gooey interior. If they’re pale or soft, they may need a bit more cooking time.
FAQs
- Can I freeze it? Yes, these mini quesadillas can be frozen for up to a month. Simply cook, cool, and then freeze them in a single layer in a freezer-safe bag or container.
- Is it gluten-free? Depending on the type of tortillas you use, these quesadillas can be gluten-free. Look for gluten-free tortilla options to accommodate dietary restrictions.
- Can I double the recipe? Absolutely! These mini quesadillas are perfect for large gatherings or meal prep. Simply double or triple the ingredients as needed, and adjust the cooking time slightly if you’re cooking in batches.
Conclusion
With their perfect balance of flavors, ease of preparation, and bite-sized convenience, these Mini Breakfast Quesadilla Circles are sure to become a new favorite in your household. Whether you’re a seasoned cook or a beginner in the kitchen, this recipe offers a fun and creative way to enjoy a classic dish. Don’t be afraid to experiment with different fillings and toppings to make it your own, and enjoy the process of sharing these delicious treats with friends and family. So go ahead, get cooking, and start your day off right with these crispy, cheesy, perfectly bite-sized mini breakfast quesadillas!
Mini Breakfast Quesadilla Circles – Cheesy, Crispy & Perfectly Bite-Sized!
A recipe for mini breakfast quesadilla circles that are cheesy, crispy, and perfectly bite-sized, made with tortillas, cheese, and your choice of fillings.
🥘 Ingredients
👩🍳 Instructions
-
1Prepare fillings and scramble eggs.
-
2Assemble quesadillas by placing cheese and fillings on half of the tortilla and folding in half.
-
3Cut out circles from the folded tortillas using a cookie cutter or glass rim.
-
4Cook quesadillas in a skillet with a small amount of oil over medium heat until crispy and golden brown.