Introduction
🍪 Imagine turning your favorite cookie into a bar that’s not only easier to make but also packed with the rich flavors of salted caramel and dark chocolate. Welcome to the world of Salted Caramel Chocolate Chip Cookie Bars, where everyday ingredients transform into something truly delightful. Perfect for busy cooks looking to save time without sacrificing taste, these bars are a game-changer. Whether you’re a fan of sweet and salty combinations or just looking for a quick dessert to impress, these cookie bars have got you covered. So, let’s dive into the magic of creating something extraordinary from the ordinary, all while keeping it quick, easy, and utterly delicious.
Why This Works
🌟 The secret to these Salted Caramel Chocolate Chip Cookie Bars lies in their perfect balance of flavors and textures, combined with an ease of preparation that fits perfectly into any busy schedule. The salted caramel adds a deep, velvety smoothness, while the dark chocolate chips provide bursts of intense chocolate flavor. Meanwhile, the cookie base, made with simple yet quality ingredients, holds everything together beautifully. This recipe is special because it achieves a sophisticated taste with minimal fuss, making it accessible to cooks of all levels. Plus, it’s ready in no time, which is exactly what you need when you’re short on time but big on appetite.
Key Ingredients
🧈 1 cup unsalted butter, softened
🍫 2 cups semi-sweet chocolate chips
🍯 1 cup caramel sauce (salted)
🥛 2 large eggs
🌾 2 1/4 cups all-purpose flour
🧂 1 tsp baking soda
🧂 1 tsp salt
🍝 1 cup chopped dark chocolate or chocolate chunks
Instructions
1️⃣ Preheat your oven to 350°F (175°C). Line an 8-inch square baking pan with parchment paper or aluminum foil, leaving some overhang for easy removal.
2️⃣ In a medium bowl, whisk together the flour, baking soda, and salt. Set aside.
3️⃣ In a large bowl, use an electric mixer to cream together the butter and sugar until light and fluffy, about 2-3 minutes.
4️⃣ Beat in the eggs one at a time, followed by the vanilla extract.
5️⃣ Gradually mix in the flour mixture until just combined, being careful not to overmix.
6️⃣ Stir in the chocolate chips.
7️⃣ Press half of the dough into the prepared baking pan.
8️⃣ Drizzle the salted caramel sauce over the dough in the pan.
9️⃣ Top with the remaining dough, spreading it evenly to cover the caramel.
10️⃣ Bake for 25-30 minutes or until the top is lightly golden brown.
11️⃣ Remove from the oven and let cool completely in the pan before cutting into bars.
Handy Tips
👨🍳 To ensure the caramel doesn’t sink to the bottom, chill the dough for about 10 minutes before assembling the bars. This will also help in handling the dough.
🍴 When pressing the dough into the pan, use a piece of parchment paper or a spatula to evenly spread it out and avoid sticking.
📝 Keep an eye on the bars while they’re baking, as the baking time might vary slightly depending on your oven.
Heat Control
⚠️ The temperature and baking time are crucial. If your oven tends to run hot, consider reducing the temperature by 25°F (15°C) to prevent overcooking. Similarly, keep an eye on the bars after the 20-minute mark to catch them when they’re just lightly golden.
Crunch Factor
🌰 The combination of the gooey caramel, crunchy edges, and soft cookie center provides a delightful texture contrast that will keep you coming back for more. To enhance the crunch, consider sprinkling a few extra chocolate chips on top before baking.
Pro Kitchen Tricks
🎩 For an extra crunchy top, broil the bars for 1-2 minutes after baking. Keep a close eye to avoid burning.
👌 To make the bars more indulgent, drizzle with additional caramel sauce and sprinkle with sea salt after they’ve cooled.
🍫 Experiment with different types of chocolate for varying flavor profiles. Dark chocolate adds a nice depth, but milk chocolate can provide a sweeter treat.
Storage Tips
📦 Once the bars have cooled, store them in an airtight container at room temperature for up to 5 days. For longer storage, consider freezing the bars. Simply place them in a single layer in a freezer-safe bag or container and freeze for up to 2 months. Thaw at room temperature when you’re ready to indulge.
Gift Packaging Ideas
🎁 These bars are perfect for gifting. Consider packaging them in decorative tins, Mason jars, or even cellophane bags tied with a ribbon. For a more personalized touch, add a handwritten note or a sprinkle of sea salt on top.
Flavor Variations
🌟 Try these twists to give your Salted Caramel Chocolate Chip Cookie Bars a unique spin:
– 🌟 Add a teaspoon of coffee powder to the dough for a mocha flavor.
– 🌟 Sprinkle some chopped nuts (walnuts or pecans work well) on top of the dough before baking for added crunch.
– 🌟 Use different types of caramel, like fleur de sel or caramel with a hint of vanilla, for varied flavor depths.
– 🌟 For a fruity twist, add some dried cranberries or cherries to the dough.
Troubleshooting
🤔 Common issues and their fixes:
– Bars too hard: They might have been overbaked. Try reducing the baking time.
– Caramel too runny: It might not have cooled enough before cutting. Let it cool a bit more.
– Dough too sticky: Add a bit more flour. Too dry: Add a bit more egg.
FAQ
🤔 Here are some frequently asked questions:
– Q: Can I use unsalted caramel?
A: Yes, but you might want to add a pinch of salt to balance the flavors.
– Q: How do I prevent the caramel from oozing out during baking?
A: Pressing the top layer of dough firmly over the caramel can help.
– Q: Are these bars suitable for a crowd?
A: Absolutely! Just double or triple the recipe as needed.
Conclusion
🎉 And there you have it – a recipe that transforms the humble cookie into a show-stopping bar, perfect for busy days and special occasions alike. The Salted Caramel Chocolate Chip Cookie Bars are a testament to the magic that happens when simple ingredients come together in harmony. So go ahead, share them with friends and family, or indulge all by yourself (we won’t judge!). Whatever you choose, make sure to enjoy every last crumb of these delicious, time-saving treats. Happy baking! 🍪❤️
Quick Fix Dessert Salted Caramel Chocolate Chip Cookie Bars in Just 30 Minutes
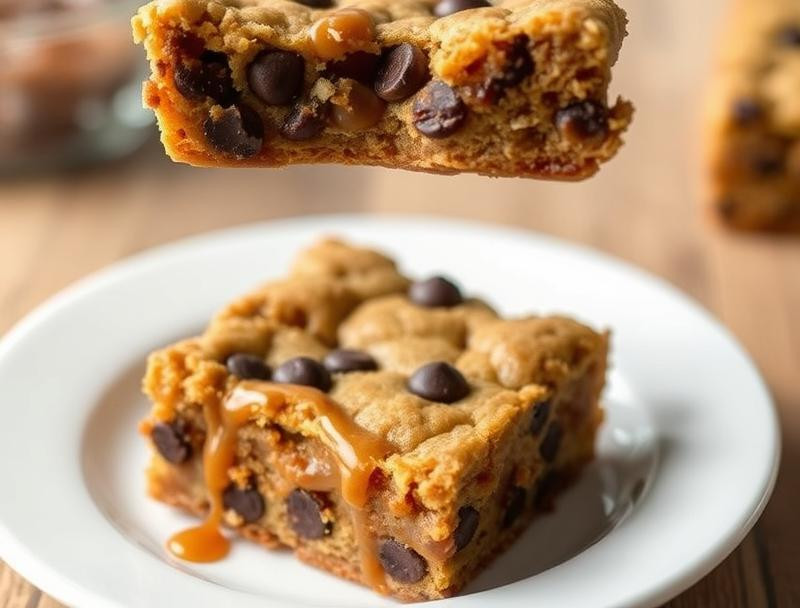
Deliciously gooey chocolate chip cookie bars topped with a rich salted caramel drizzle, perfect for a quick dessert fix.
Ingredients
- 2 cups all-purpose flour
- 1 teaspoon baking soda
- 1/2 teaspoon salt
- 1 cup unsalted butter, softened
- 3/4 cup brown sugar, packed
- 3/4 cup granulated sugar
- 2 large eggs
- 2 teaspoons vanilla extract
- 1 cup chocolate chips
- 1/2 cup caramel sauce
- 1/2 teaspoon sea salt
Instructions
- Preheat the oven to 175u00b0C (350u00b0F) and grease a 9x9 inch baking pan.
- In a bowl, mix together the flour, baking soda, and salt.
- In a separate large bowl, cream together the softened butter, brown sugar, and granulated sugar until smooth.
- Add the eggs and vanilla extract to the butter mixture and mix until well combined.
- Gradually add the dry ingredients to the wet ingredients, mixing until just combined.
- Fold in the chocolate chips and pour the batter into the prepared baking pan, spreading it evenly.
- Drizzle the caramel sauce over the top of the cookie batter and sprinkle with sea salt.
- Bake in the preheated oven for 25-30 minutes, or until the edges are golden and a toothpick inserted in the center comes out clean.
- Allow to cool in the pan for 10 minutes before cutting into bars and serving.
Tips
- For extra flavor, add a teaspoon of espresso powder to the batter.
- Serve warm with a scoop of vanilla ice cream for an indulgent treat.