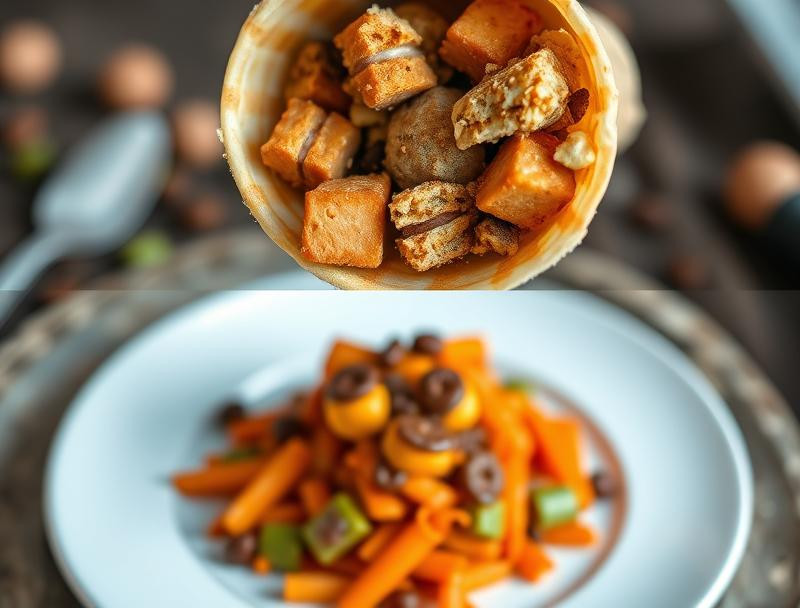
Introduction
Transform ordinary marshmallow cones into extraordinary campfire treats with this ridiculously easy Reese’s twist! This recipe is perfect for busy weeknights or spontaneous gatherings – minimal effort, maximum deliciousness. Get ready to impress your friends and family with a dessert that’s as fun to make as it is to eat!
Why This Works
This recipe is a winner because it combines the nostalgic joy of campfire treats with the irresistible indulgence of Reese’s Peanut Butter Cups. It’s quick, requires minimal ingredients, and delivers a flavor explosion that’s sure to become a new favorite. No special skills or equipment needed – just pure, sweet simplicity!
Key Ingredients
🍦 1 package (10 oz) large marshmallows
🍫 1 cup Reese’s Peanut Butter Cups, coarsely chopped
🍪 1 package (6 oz) sugar cones
🔥 Optional: graham cracker crumbs for extra crunch
Instructions
1️⃣ Prep the Reese’s: Coarsely chop the Reese’s Peanut Butter Cups. The chunkier, the better for delightful peanut butter bursts!
2️⃣ Marshmallow Magic: In a microwave-safe bowl, microwave the marshmallows on medium power in 30-second intervals, stirring after each interval, until completely melted and smooth. Be careful not to burn them!
3️⃣ Peanut Butter Bliss: Gently stir in the chopped Reese’s Peanut Butter Cups into the melted marshmallows until evenly distributed.
4️⃣ Cone Creation: Quickly fill each sugar cone with the peanut butter marshmallow mixture. Work swiftly so the mixture doesn’t cool down too much before filling the cones.
5️⃣ Chill Out: Place the filled cones upright in a muffin tin or small cups to help them hold their shape while they set. Refrigerate for at least 30 minutes, or until firm.
Handy Tips
- Use a spoon or a piping bag for a neater filling process.
- If your marshmallows get too thick while microwaving, add a teaspoon of water at a time and continue stirring until you reach desired consistency.
- For extra stability, you can dip the bottom of the cones in melted chocolate before filling.
Heat Control
This recipe uses only microwave heat for melting the marshmallows. It’s crucial to use short bursts of microwave power and stir frequently to prevent burning. Low and slow is the key to perfectly melted marshmallow fluffiness!
Crunch Factor
The crunch comes primarily from the sugar cone, providing a lovely textural contrast to the soft, gooey marshmallow and creamy peanut butter filling. For an extra layer of crunch, consider sprinkling some graham cracker crumbs onto the mixture before filling the cones.
Pro Kitchen Tricks
- Speed Hack: Use pre-chopped Reese’s Peanut Butter Cups to save time.
- Flavor Boost: Add a pinch of sea salt to the marshmallow mixture for a sophisticated salty-sweet balance.
- Creative Hack: Drizzle melted chocolate over the set cones for an extra decadent touch.
Storage Tips
Store the finished Reese’s Campfire Marshmallow Cones in an airtight container in the refrigerator for up to 3 days. They’re best enjoyed fresh, but refrigeration helps maintain their shape and prevents them from becoming too soft.
Gift Packaging Ideas
These adorable campfire treats make delightful gifts! Package them individually in cellophane bags tied with ribbon or arrange them in a pretty basket lined with tissue paper. A personalized tag adds a nice touch.
Flavor Variations
🌟 Salted Caramel Swirl: Add a swirl of caramel sauce to the marshmallow mixture before filling the cones.
🌟 Chocolate Chip Chunk: Fold in mini chocolate chips along with the Reese’s for a double chocolate delight.
🌟 Pretzel Crunch: Add crushed pretzels to the mixture for a salty-sweet crunch.
🌟 Miniature M&Ms: Incorporate colorful mini M&Ms for a festive pop of color and flavor.
Troubleshooting
- Marshmallows too thick: Add a teaspoon of water at a time while stirring.
- Marshmallows burned: Start with shorter microwave intervals and stir frequently.
- Cones too soft: Refrigerate for a longer period.
FAQ
- Can I use different types of cones? Yes, waffle cones or even homemade ice cream cones would work well.
- Can I make this ahead of time? Yes, prepare the cones ahead and store them in the refrigerator until ready to serve.
- Can I freeze these cones? While freezing is possible, the texture might change slightly upon thawing. It’s best to enjoy them fresh or refrigerated.
- What if I don’t have a microwave? You could melt the marshmallows gently in a double boiler over low heat.
Conclusion
These Reese’s Campfire Marshmallow Cones are a guaranteed crowd-pleaser! They’re incredibly easy to make, bursting with flavor, and perfect for sharing with friends and family. Share your creations and tag us on social media – we can’t wait to see your delicious campfire cones! Happy cooking!
5-Minute Reese's Campfire Cones: No-Fail Firepit Fun
A quick and delicious dessert that combines chocolate, peanut butter, and marshmallows in a fun and interactive campfire cone.
Ingredients
- 4 waffle cones
- 1 cup mini marshmallows
- 1 cup chocolate chips
- 1 cup chopped Reese's Peanut Butter Cups
- Aluminum foil
Instructions
- Preheat your campfire or grill.
- Stuff each waffle cone with mini marshmallows, chocolate chips, and chopped Reese's Peanut Butter Cups.
- Wrap each stuffed cone in aluminum foil.
- Place the wrapped cones over the campfire or grill for about 5 minutes, until the chocolate and marshmallows are melted.
- Carefully unwrap the cones and enjoy your delicious treat.
Tips
- Experiment with different types of candy or fruit for a unique flavor.
- Make sure to keep an eye on the cones while cooking to avoid burning.
